The Kit
Model Kit: MG F91 Ver. 2.0 Build Dates: January 1 – March 4, 2026 Hours: Let’s just say a lot and leave it at that.
How It Started
I picked up this kit at Hobby Lobby over a year ago — their monthly model sale is a great way to stretch your budget — and honestly had no idea what the F91 even was. The box art was cool. It followed me home. You know how it goes.
It sat on the backlog shelf collecting dust until late 2025, when Gunpla Colorado announced a Q1 2026 group build. I wanted to push myself: start something, finish it, and actually hit a deadline for once. My eyes landed on that dusty F91 and the decision was made.
One thing worth noting — I wasn’t documenting my process when I started this build, so this is a retrospective rather than a true build log. Consider this the full story told in one sitting.
The Concept
Before touching a single part I dug into the F91’s backstory on the Gundam fandom site — highly recommend it as a research starting point. Learning that the F91 was designed to push the boundaries of what mobile suits could do, combined with the name itself, sent my brain straight to my other obsession: Formula 1.
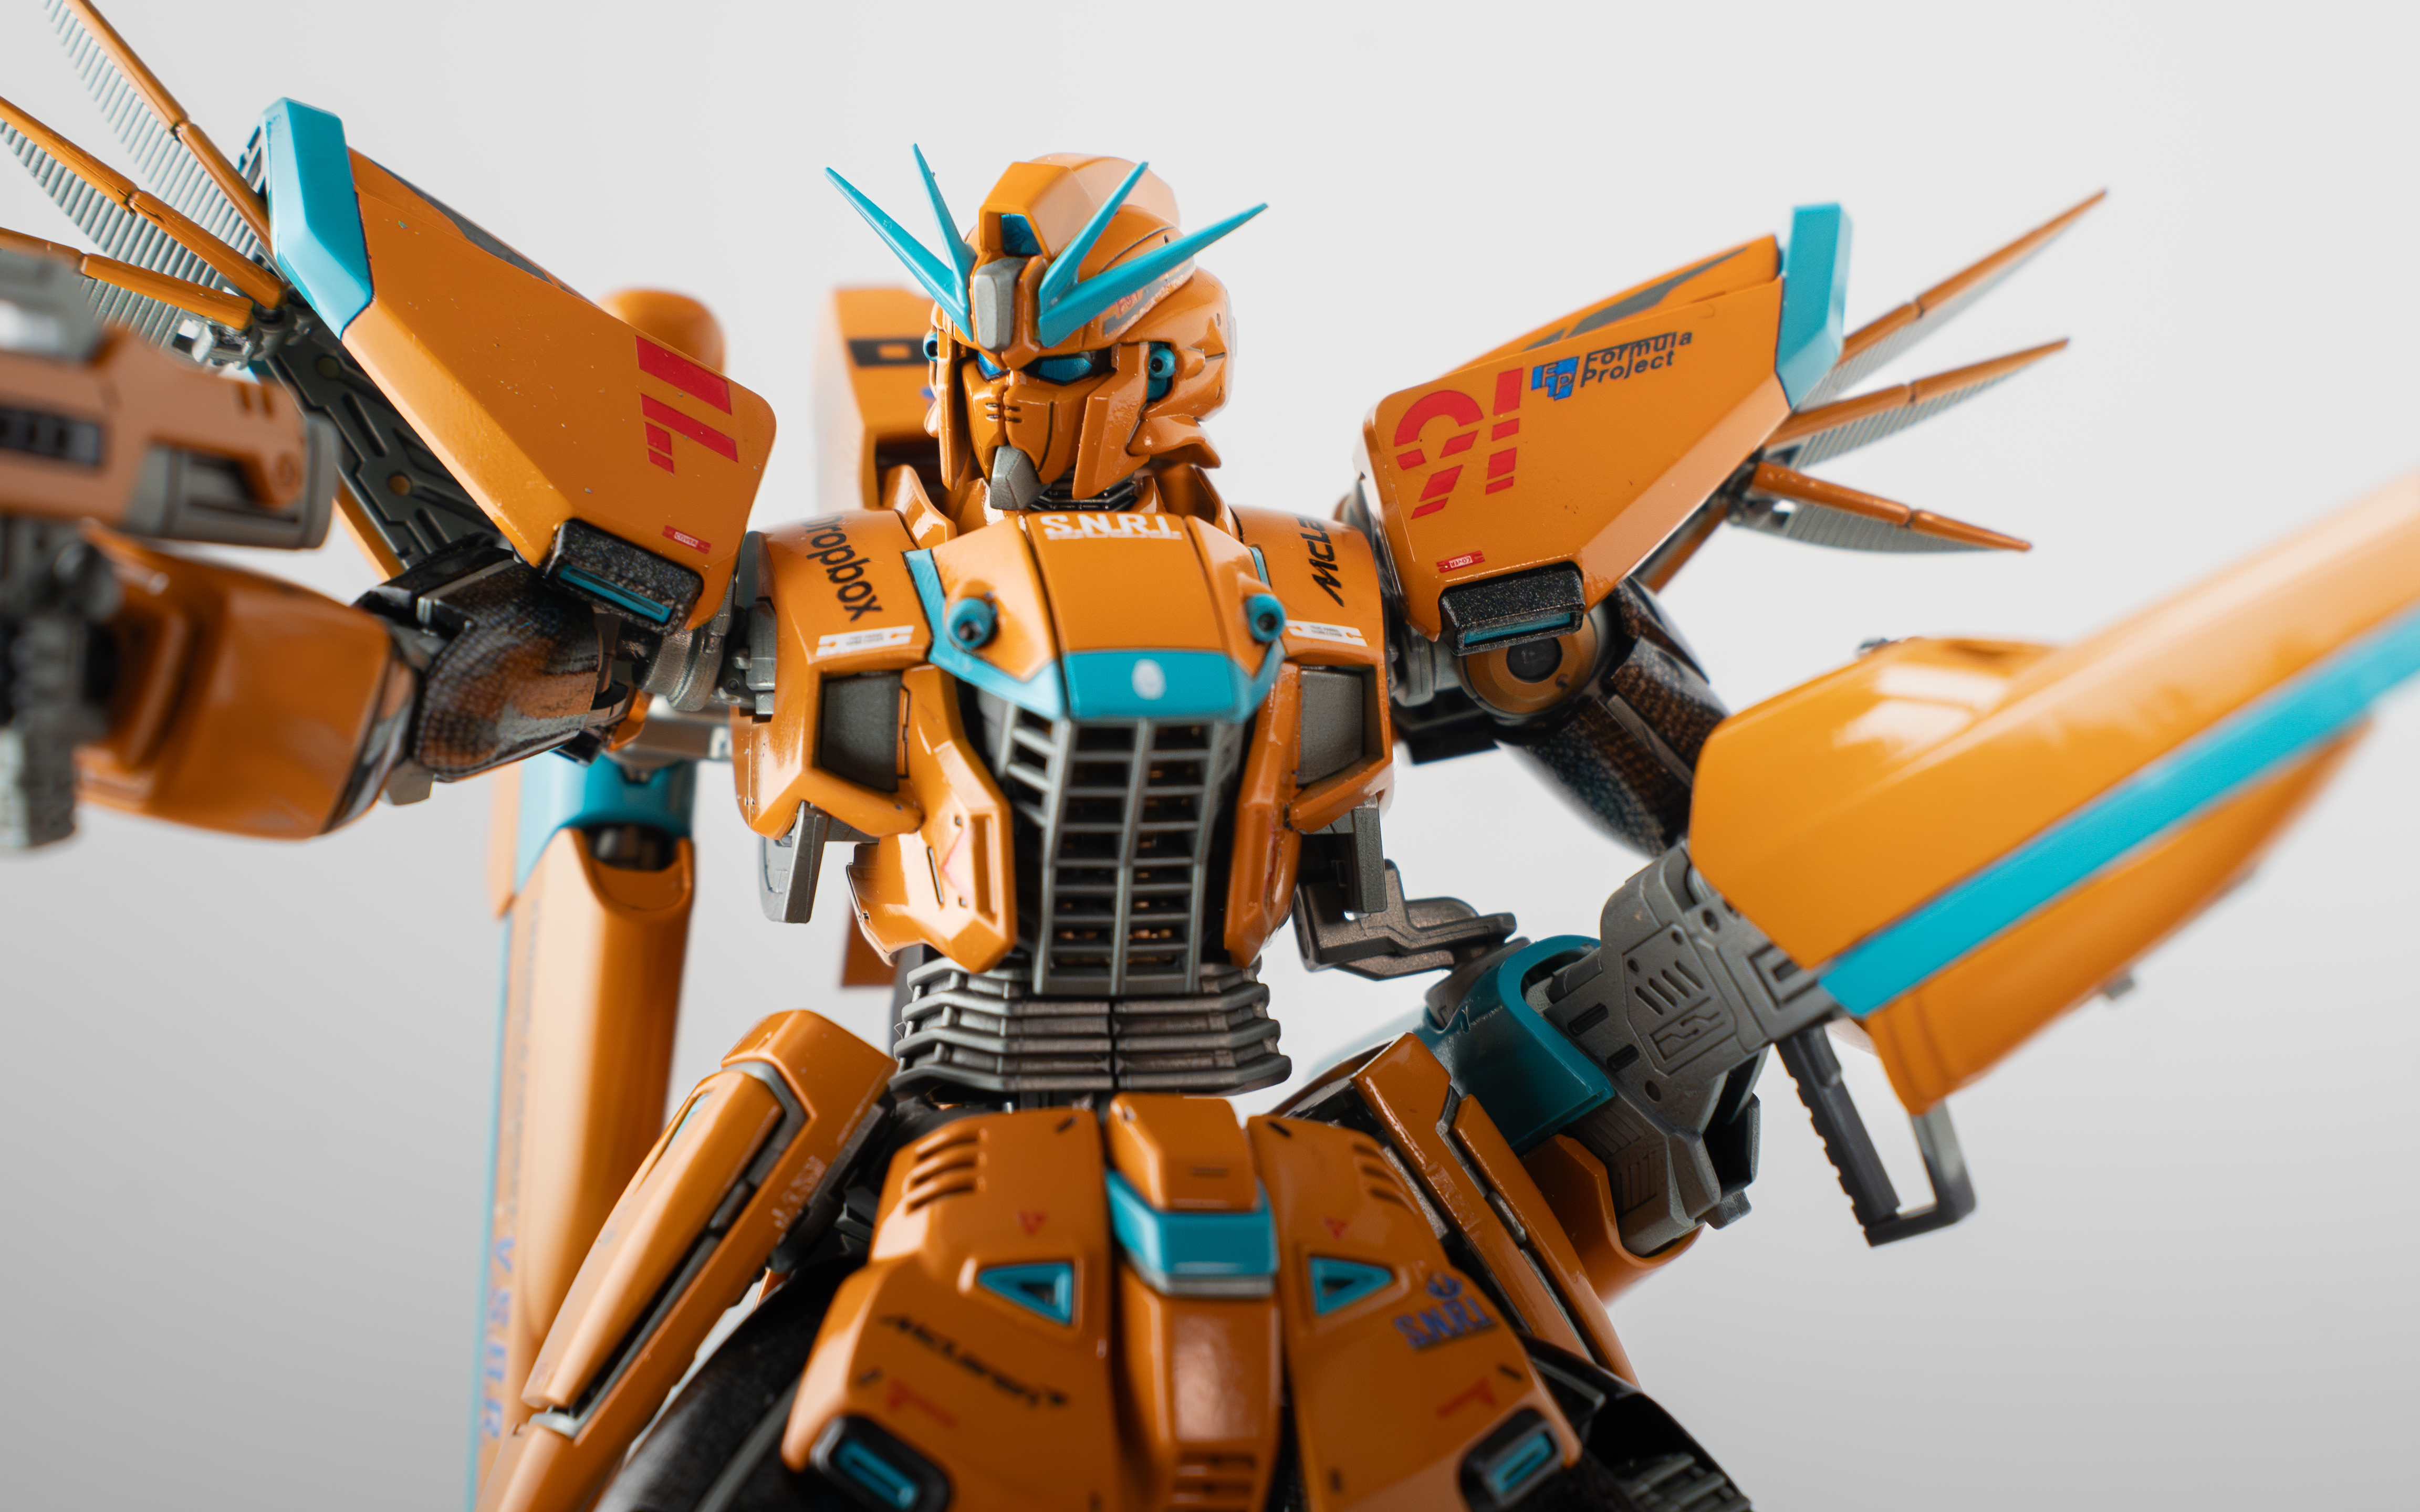
The concept locked in immediately. This would be an F1-F91. With a paint scheme inspired by a special edition F91.
The next question was which team. The 2025 World Championship had just gone to Lando Norris and McLaren, so the answer was obvious. McLaren is not my team — but I can absolutely set aside my bias to honor what they’ve built over the last few years. The classic Papaya Orange with Black and Turquoise accents would be the palette. I sketched it out on printed line art of the kit to nail the color placement before ever picking up the airbrush.
The Snap Build

 I tried a new assembly method on this one, picked up from a FrostedSnow video: clip all parts from every runner first, sort them into labeled bins by runner ID, then do all nub cleanup across the whole kit at once before opening the manual. It felt chaotic compared to my usual part-by-part approach, but I came around on it. The workflow has a nice rhythm once you’re into it.
The build itself was smooth and genuinely fun. The F91 has some clever design elements I hadn’t seen in other kits — nothing that’ll hold a beginner back, but enough to keep an experienced builder engaged. Solidly mid-difficulty for a Master Grade. I loosened any pegs that felt too tight during assembly, knowing I’d be pulling everything apart for paint.
Scribing & Cleanup
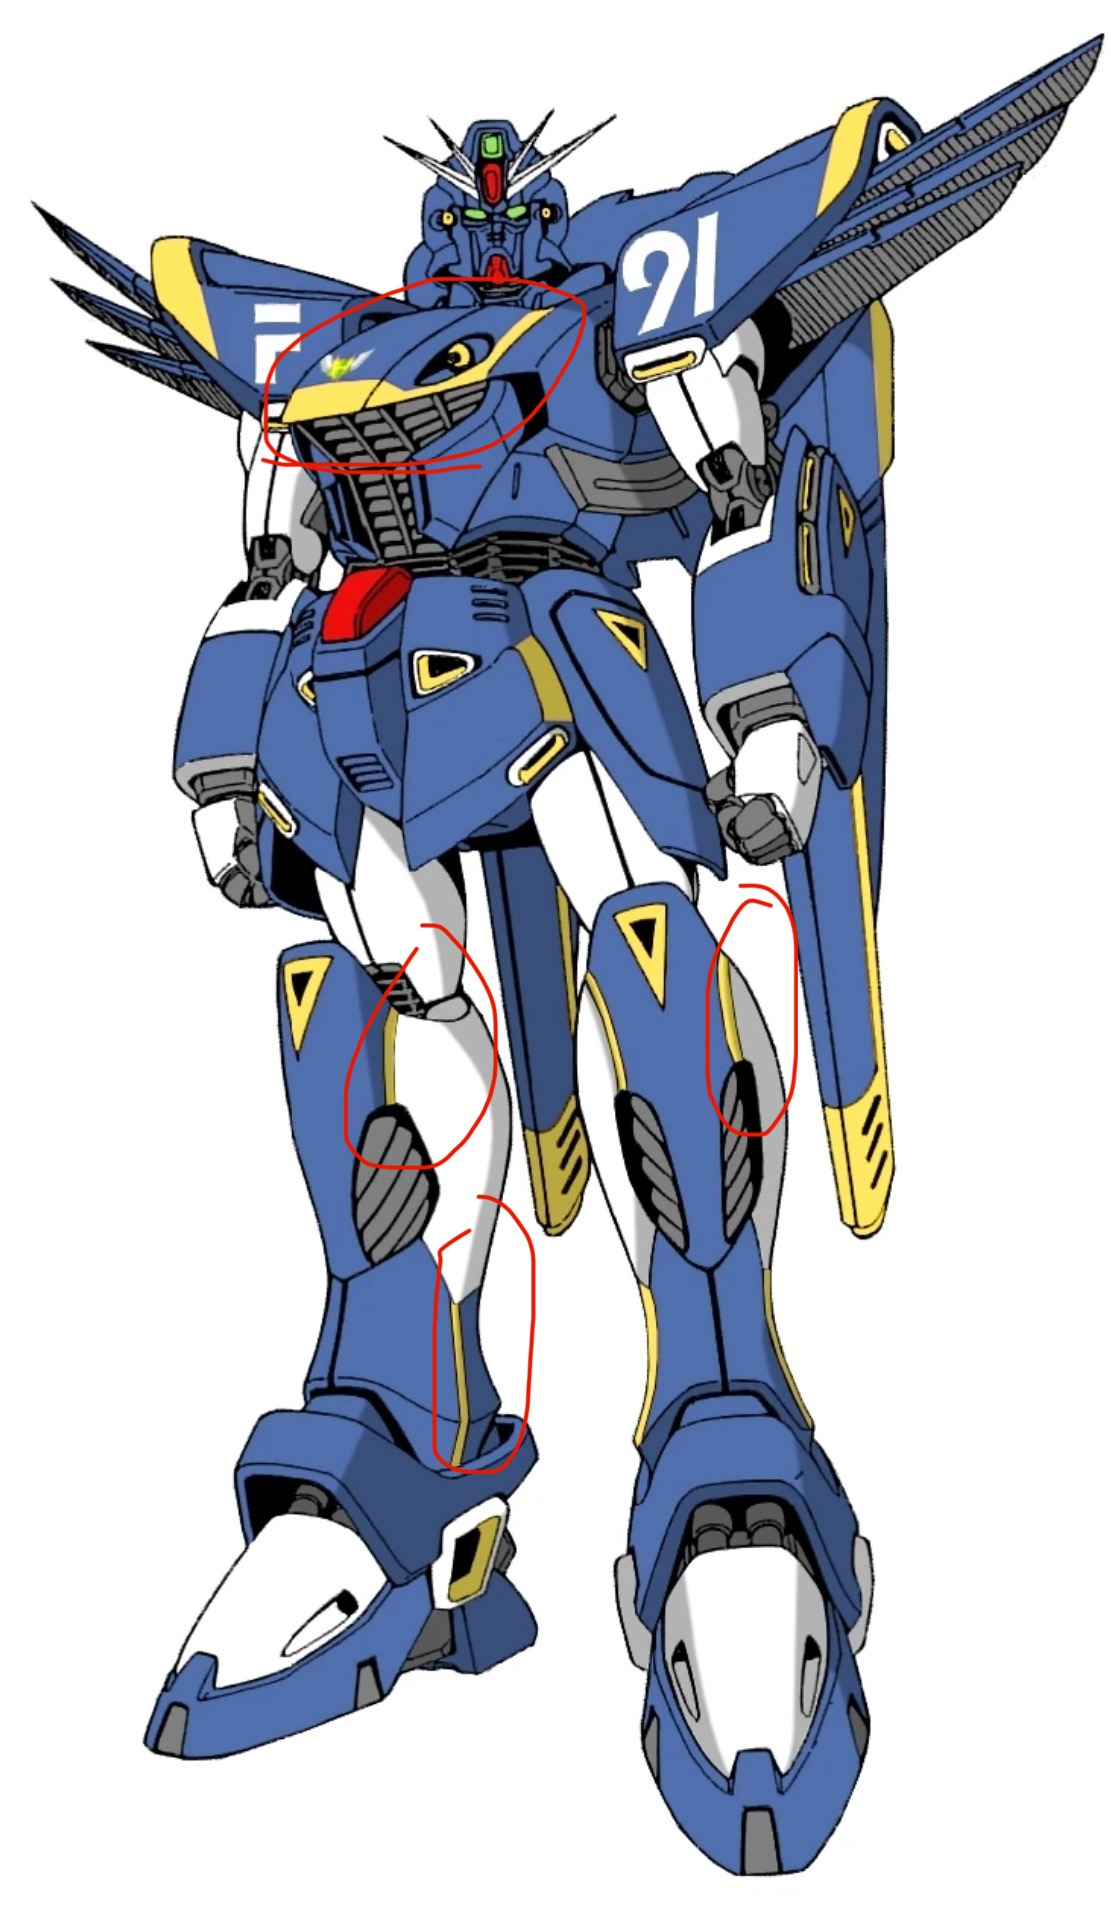
After the initial build I went through every part looking for seam lines and mold lines to address. Here’s the thing — there were almost none. The part separation on this kit is intentionally designed, and it shows. Cleanup was fast.
This was also when I planned my panel line changes: re-scribing some existing lines and adding a few new ones to make color separation cleaner. I’d never scribed new lines before, and the nerves showed early. My first attempts were rough — I was pushing too hard and tearing through the plastic instead of letting the tool glide and cut on its own. It clicked after a few lines, and the confidence came quickly from there.


Parts went into the ultrasonic cleaner after scribing, then straight into the dehydrator. Patience is a virtue. I don’t have it.
Paint
Primer went on first — Kaleido Color Grey, my first time using the brand. I’d had the usual acrylic airbrush struggles before: tip drying, weak coverage, frustrating sessions. Kaleido was a different experience. It sprayed cleanly, covered thoroughly, and behaved itself. Sold.
The orange and teal parts were straightforward. The Vallejo Teal needed more thinning and gave me some tip drying grief as expected, but nothing unmanageable.
The carbon fiber effect on the black parts was the wildest step of the whole build. The technique — black base coat, metallic layer, then pantyhose stretched over the part as a stencil before the final pass — sounds ridiculous until you see the result. Yes, pantyhose. Yes, it works.
I dragged my feet on this step for a while, genuinely worried about ruining the parts. Then I reminded myself that the worst case was just painting them black again. One evening I stopped overthinking and dove in. The result isn’t perfect, and I love it. It adds exactly the kind of depth and texture that makes you stop and look twice.


At 1/100 scale, carbon fiber panels would be nearly invisible in real life. SNRI clearly found a way to manufacture Gundam-scale carbon sheets. Moving on.
Decals
A gloss clear coat went on before decals to give the waterslides a smooth surface to settle into. Two sessions in and I’d found my groove with MicroSol and the Delphi decal sheet. The process takes patience but it’s meditative once you’re past the anxiety of the first few. I was selective — not every decal on the sheet made the cut. Each one earned its place.
The custom decals were the wildest gamble of the build. I designed F1-specific markings and printed them on decal paper at home. The first several sheets were a total loss — printed too wet, completely unusable. Once I realized that, the next attempt came out perfectly. Any F1 fan who checks out this kit is going to know exactly what they’re looking at. No ambiguity.

Finish & Assembly
A final round of clear coat sealed everything, and then came reassembly — my favorite part of any painted build. Watching all the separate pieces come back together as a finished kit never gets old.
I only lost one part in the whole process: a beam saber handle, last seen somewhere in our Crobby Room (Craft/Hobby Room — my wife’s naming, and it’s perfect). A small price to pay.
My oldest son is a talented photographer and agreed to help with the photo shoot. We told the F91 to get its modeling stances ready and went to work. The results are on the portfolio page — go there for the full effect.
Wrap Up
This build was everything. It pushed me into techniques I’d never tried, forced me to hit a real deadline, and produced a kit I’m genuinely proud of. The F1-F91 concept turned what could have been a straightforward Master Grade into something personal.
If you’ve got a kit sitting dusty on a shelf with a concept you keep putting off — pull it down. The worst thing that happens is you learn something.